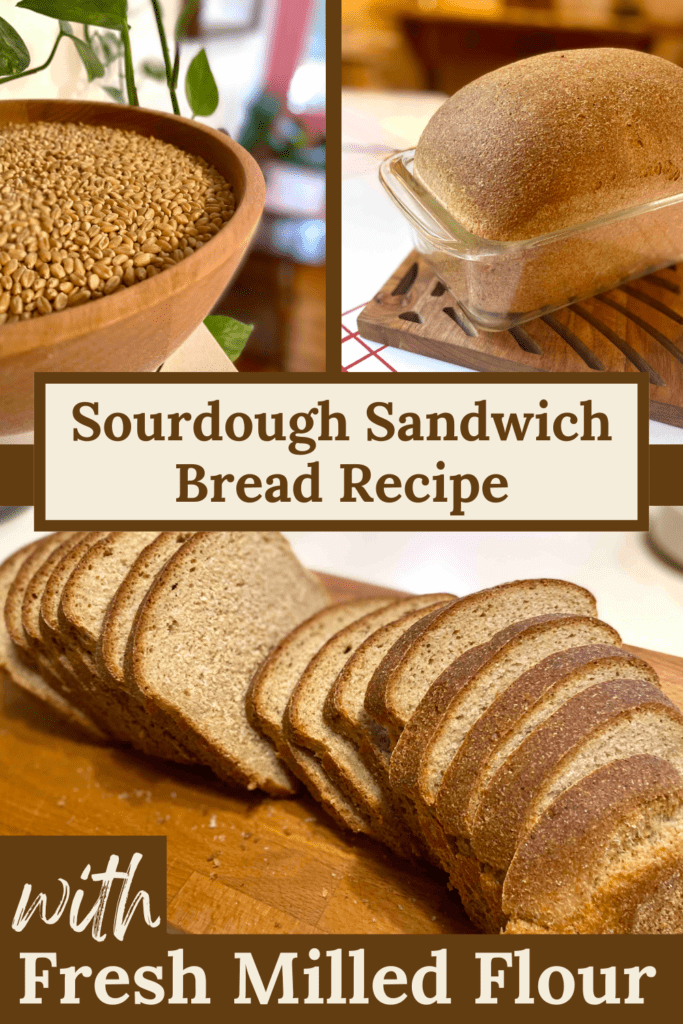
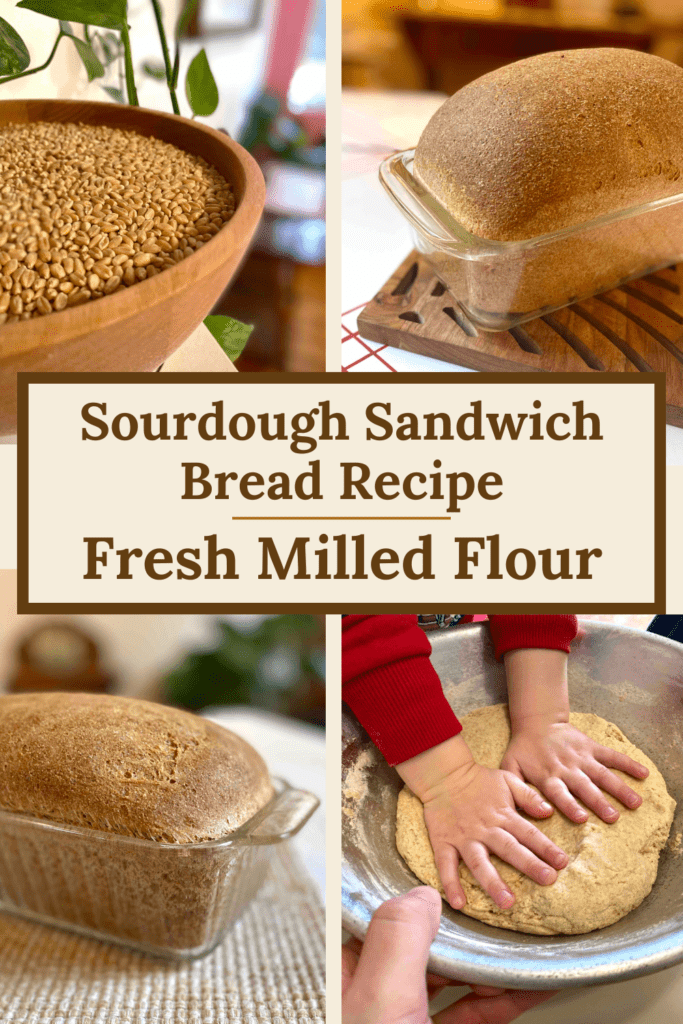
The Best Fresh Milled Sourdough Sandwich Bread Recipe
The ultimate fresh milled sourdough sandwich bread recipe! An easy, no knead bread made with nutritious and delicious fresh milled flour!
This post may contain affiliate links, which means I make a small commission at no extra cost to you. As an Amazon Associate I earn from qualifying purchases. See my full disclosure here.
Why Fresh Milled Flour?
The health benefits of freshly milled flour are enormous! The eponymous Sue Becker introduced me to freshly milled flour recently and I am loving it, and so are my kids!! Freshly milled whole wheat flour maintains the entire nutritional profile of God’s gift of wheat to mankind.
Wheat has at least 45 essential nutrients for the human body, including magnesium, vitamin E, and iodine. When we buy conventional AP flour it is usually bleached with a chlorine derivative and is completely stripped of all these wonderful nutrients. Then the food companies put back in synthetic versions of just five of the nutrients lost, and call it “enriched.”
When we use whole wheat berries we preserve not only the vital nutrients for a thriving life we also maintain the fiber content of wheat. Are you dealing with constipation? Freshly milled whole wheat could fix that!
God is an amazing Creator who gave us every good thing. Why not just use the food God gave us as He intended it to be used? Freshly milled flour is the healthiest way to consume wheat.
Man can not live on bread alone but God loves bread!

Fresh Milled Flour FAQ
Is it hard to fresh mill your own flour?
No! As a mom of three kids three years old and under, I actually find it easier than conventional baking, especially when coupled with using sourdough as the rising agent. This is because I store my flour mill right out on my counter. Then, when I need flour for a recipe, I simply push the button and the flour is milled while I gather up my ingredients. What could be easier?
What grain mill do you recommend?
I recommend the Komo Mio grain mill. From my research the Mock mill seems to be top of the line, and therefore a pricey investment. While the Nutrimill has great reviews, it is not aesthetically pleasing. The Komo Mio blends the needs of function and aesthetics without completely breaking the bank. Don’t get me wrong, it’s still a hefty lump sum to dish out, but the health benefits were worth it to my family and I to make the plunge into fresh milling.
Where do you get your wheat berries?
Currently I get my wheat berries from Ancient Grains and I would like to try out Azure Standard as well.
Is fresh milled flour healthier?
YES!! Freshly milled whole wheat flour is the healthiest way you can eat grains. Fresh milling completely preserves all of the 45+ vital, life-giving nutrients found in grain. All of these are stripped when using AP flour. Then, only five synthetic versions of vitamins are “replaced” in AP flour labeled as “enriched.”
How long does fresh milled flour last?
Freshly milled flour rapidly loses its nutritional value as it is exposed to the air and oxidizes. About 24 hours after fresh milling your flour, only 50% of the vitamins and minerals are left. So, you must use your flour as soon as you mill it. The wheat berries, however, last basically indefinitely if they are stored properly (sealed and kept from moisture). This is why Joseph stored grain in Egypt for the coming seven year famine.
What kind of wheat should I use?
An easy way to remember what kind of wheat to use when converting a recipe is hard wheats are for breads and soft wheats are for pastries. Breads include any kind of bread that needs a rise and any type of quick breads such as breads that rely on baking powder to rise like banana bread, muffins, and pancakes. Pastries include cookies, cakes, and puff pastries.
How do I convert a recipe from all purpose to freshly milled flour?
Generally, you can sub fresh milled flour for all purpose flour in a 1:1 ratio. This means that if a recipe calls for 1 cup of AP flour, you can sub 1 cup fresh milled flour. This only goes for hard wheat recipes, however. If you are making a bread that needs time to rise such as a sandwich loaf, artisan loaf, or if you’re converting a quick bread recipe such as a muffin, pancake, or banana bread, you will need to use a hard wheat variety such as hard white wheat or hard red wheat.
If you are converting a pastry or confectionary type of recipe, though, you will need to use a soft wheat variety. To convert an AP flour recipe to a soft wheat recipe, sub 1 1/4 cup freshly milled soft wheat for each cup of AP flour. For example, if you are making chocolate chip cookies and the recipe calls for 2 cups of AP flour, you will ned to sub 2 1/2 cups of freshly milled soft wheat.

Why Sourdough?
Sourdough is a fermentation technique used in order to get your bread to rise. Instead of relying on a yeast packet, sourdough using the natural bacteria on the wheat berries. By feeding the bacteria, they in turn release gasses that make the dough rise. Sourdough bread is easier to digest and has a lower gluten content than non-sourdough bread. Freshly milled flour coupled with sourdough is the healthiest way to eat bread!

Tips for Fresh Milled Sourdough Sandwich Bread Recipe
No Knead!
This is a no knead recipe! This sourdough sandwich bread recipe with fresh milled flour only requires a very loose set of stretch and folds along with adequate time to proof.
After mixing the dough, perform three to four sets of short stretch and folds. Do one stretch and fold about every half hour. This is a VERY LOOSE recommendation though. As a busy mom, you may only be able to get two stretch and folds in about an hour apart. It will still work! Make this recipe work for you and around your busy schedule. Do not worry about it. Do not set timers for hard and fast stretch and folds. Just set it and ~for the most part~ forget it.
When you are finished stretch and folding, bulk ferment the dough for 10-14 hours. Then, do a final stretch and fold and shape the dough to the bread pan before allowing it to rest for a 2-4 hour final proof.
Flour to Water Ratio
You may need to adjust the flour to water ratio, especially if your starter is more hydrated than mine is, at 50%. The dough should be pretty wet on the first stretch and fold but totally pulled together by the third.
If you bake the bread and it is way too dense for your taste, experiment by adding another 1/4 cup of water. If, on the other hand, your sourdough starter is much more hydrated, use a little less flour to begin with.
Sample Schedule
Morning #1: Feed starter
Late Afternoon / Early Evening #1: Perform stretch and folds
Over night: Bulk ferment
Morning #2: Final stretch and fold, then shape and final proof 2-4 hours
Afternoon #2: Bake
Two Loaves
This sourdough sandwich bread recipe with fresh milled flour makes two loaves of bread. You can half the recipe to make one loaf but I find it easier to make two at once.
Ingredients for Fresh Milled Sourdough Sandwich Bread
Wet
- 1 cup sourdough starter (active, 50% hydration)
- 3 cups spring water
- 1/4 cup honey
- 1 stick grass fed butter (salted, melted)
- 2 large eggs
Dry
- 7 cups fresh milled hard wheat flour (hard white wheat, or a combination of hard wheats)
Favorite Bread Making Supplies


Instructions for Fresh Milled Sourdough Sandwich Bread
Morning #1
First you need to feed your sourdough starter. The morning of the night you plan to make the sourdough sandwich bread dough, feed your starter so it’s nice and active when you need it.
Afternoon / Early Evening #1
When your sourdough starter hits its peak rise later that afternoon or early evening, you are ready to make the dough for your sourdough sandwich bread with fresh milled flour.
Get your flour milling while you gather your ingredients.
Next, melt the butter in a small cast iron skillet on the stove top while you mix the first few wet ingredients.
Keep an eye on the melting butter and be sure to turn off the burner as soon as it’s about to completely melt. You just want the butter melted. You don’t want the butter to cook your dough as you pour it in!
In a large mixing bowl, whisk together the sourdough starter and spring water using a dough whisk.
Then, while whisking, pour in the honey.
And, again, while whisking, gently pour in the melted butter.
Crack the eggs in and whisk until all the wet ingredients are combined. Try not to over mix. The ingredients will not totally come together until you knead in the flour.
After the wet ingredients are mixed, pour in your fresh milled flour and use the dough whisk or your hands to combine.
Cover with a damp tea towel and leave out on the counter to begin the fermentation process.
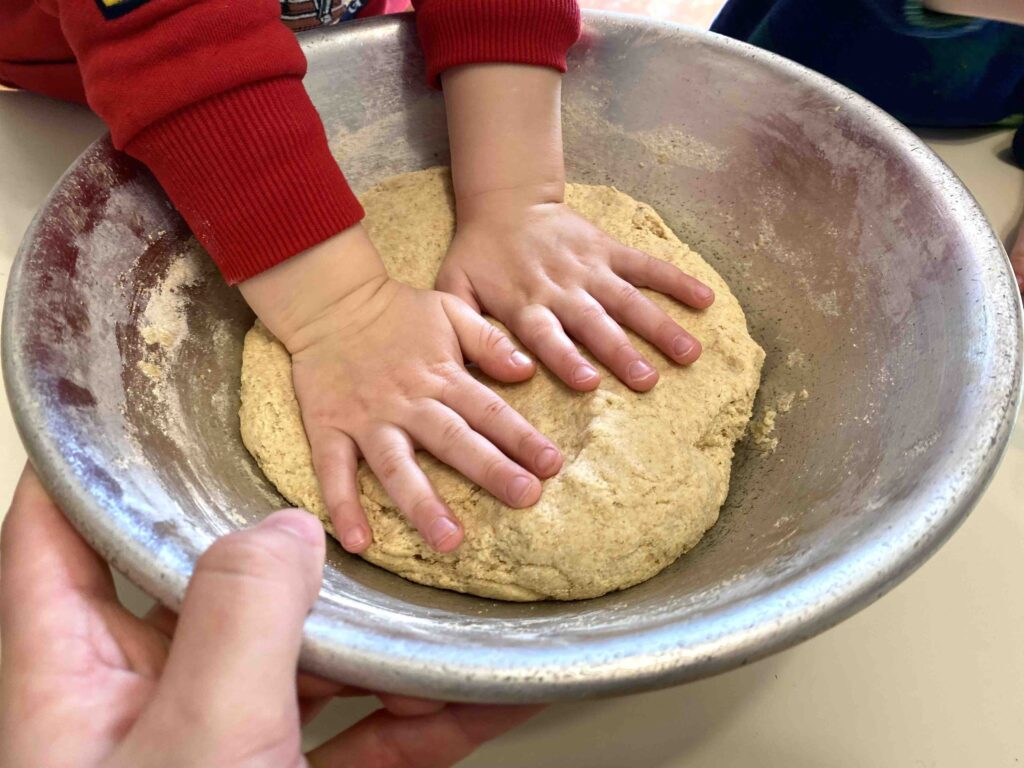
Stretch and Fold
Next, perform your stretch and folds. This is as simple as pulling the edges of the dough out as far as it will go (not very far) and then folding it. You do not need to knead the dough! This is the best part of this recipe.
Perform three to four sets of stretch and folds over a couple hour period after mixing your sourdough sandwich bread dough. As a busy mom, you can get away with as little as two stretch and folds, an our or two apart. You do not need to set timers and get stressed about not doing everything at the exact right time. Just do stretch and fold generally every half hour, whenever you can, until bed.
Bulk Ferment
After finishing your stretch and folds, your dough should be pretty tight and ready to rest. Cover with a damp tea towel and leave it to bulk ferment over night on the counter top.
Morning #2
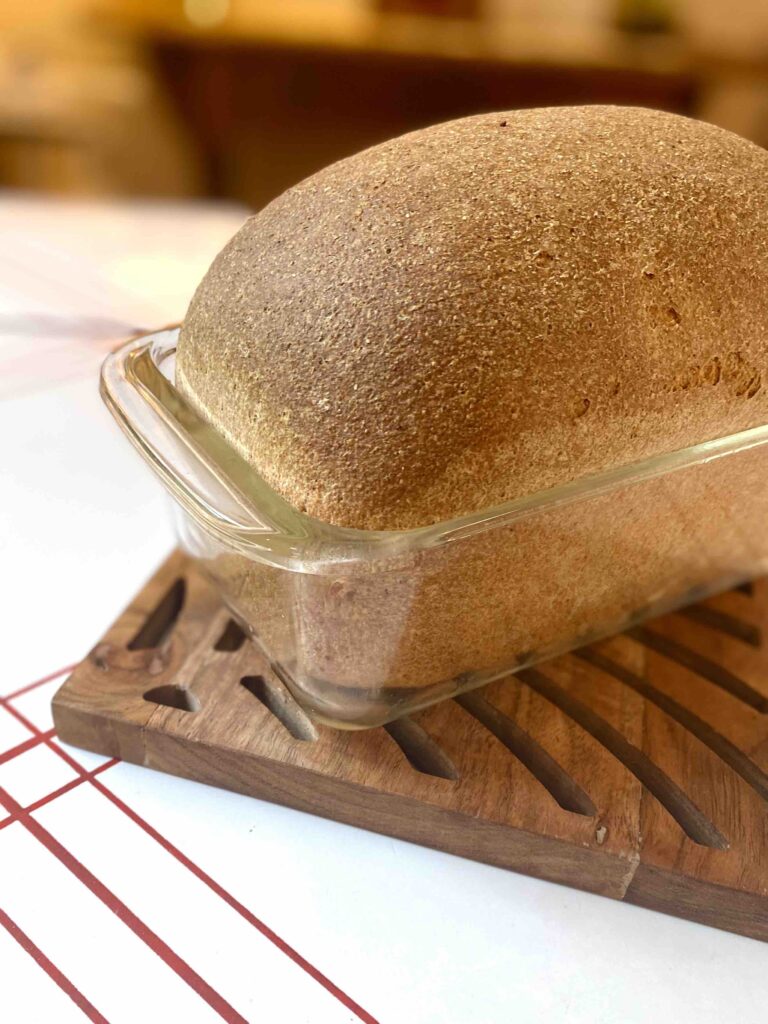
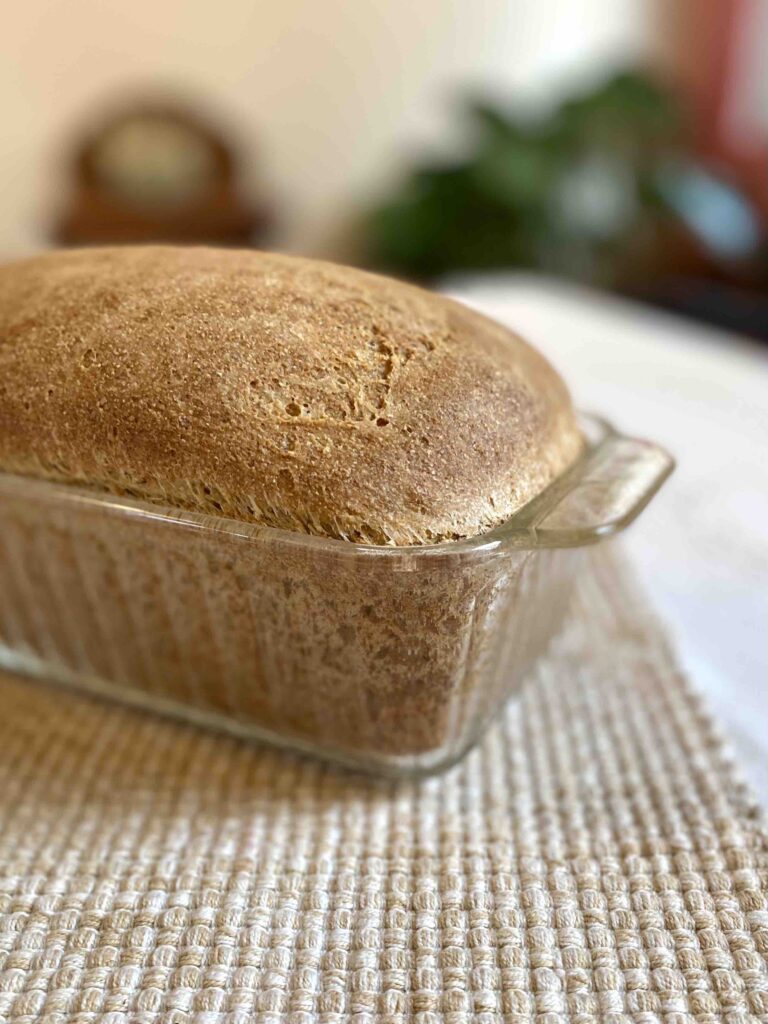
The next morning, perform a final stretch and fold and then shape your sourdough sandwich bread dough into two loaves. Then, rub two bread loaf pans with butter or coconut oil and place a loaf in each. Then, allow the dough to do a final proof, or final rise, for 2-4 hours.
Afternoon #2
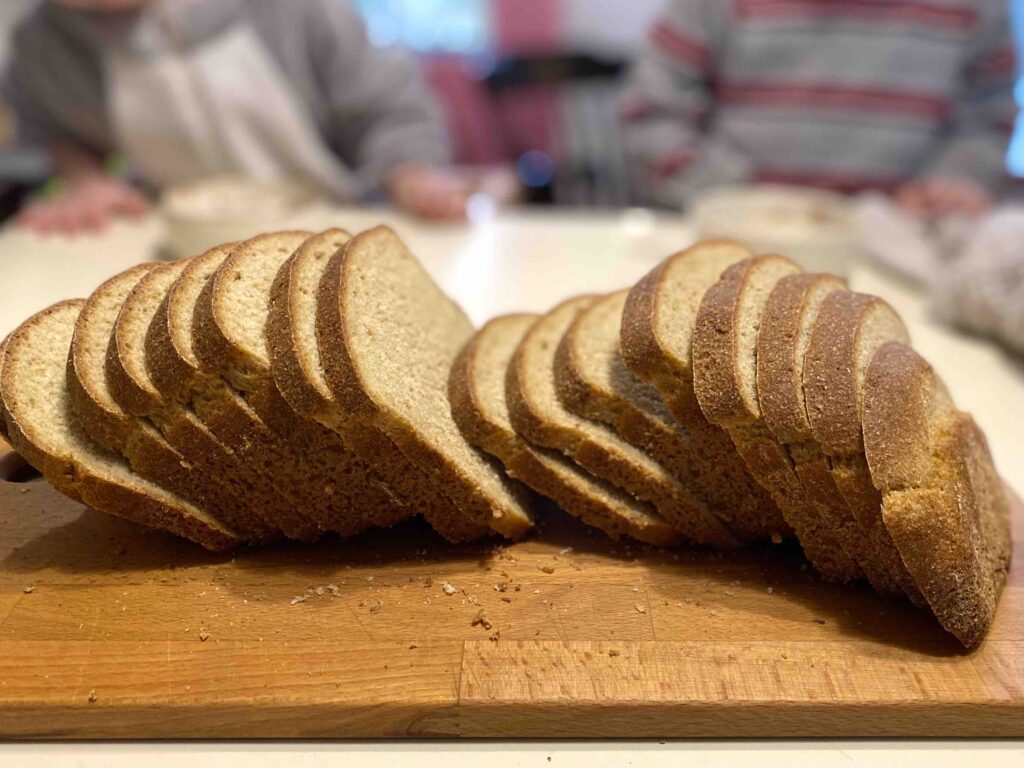
When the dough has risen to your satisfaction, bake it in the oven at 375 degrees Fahrenheit for 45 minutes. Allow it to cool before cutting it with a bread knife.
Serve and enjoy!
Bread will keep for almost a week and can then be turned into bread crumbs and stored in the freezer (if it even lasts that long!).
More Fresh Milled Flour Recipes


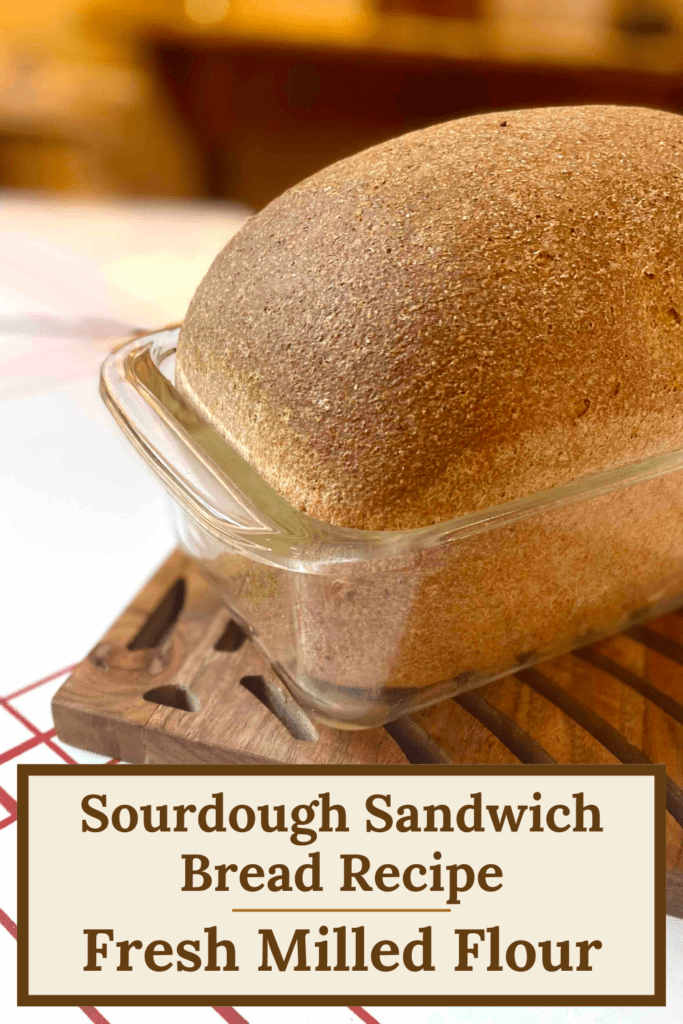
Fresh Milled Sourdough Sandwich Bread Recipe

Fresh Milled Sourdough Sandwich Bread
This is the ultimate fresh milled sourdough sandwich bread recipe! An easy, no knead bread made with nutritious and delicious fresh milled flour!
Ingredients
- 1 cup active sourdough starter (about 50% hydration)
- 3 cups spring water
- 1/4 cup honey
- 1 stick salted grass fed butter (melted)
- 2 large eggs
- 7 cups fresh milled hard white wheat flour (can sub AP)
Instructions
- In the morning, feed your sourdough starter.
- When your sourdough starter is at its peak, either later that afternoon or evening, make your dough.
- To make the dough, begin by milling your flour while you gather your ingredients.
- In a large mixing bowl, whisk together your sourdough starter and spring water using a dough whisk.
- Pour in the honey while continuing to whisk.
- Then pour in the melted butter as you continue to whisk. The butter will not fully combine at this stage but should be evenly distributed.
- Add the last of the wet ingredients, the eggs, in the same manner, whisking as you incorporate them. Do not over mix.
- Finally, mix in the flour using the dough whisk and finishing off by slightly kneading it with your hands if needed. You do not need to knead the dough. The ingredients just need to be fully combined.
- Cover the mixing bowl with a dampened tea towel.
- Allow the dough to rest for about a half hour and then perform a stretch and fold. This is as simple as pulling the edges of the dough out as far as it will go (not very far) and then folding it.
- Perform 3-4 stretch and folds at roughly half hour intervals.
- Then cover the bowl with a damp tea towel and allow the dough to bulk ferment for 10-14 hours (usually this happens over night).
- The next morning, perform one stretch and fold and split the dough into two equal parts. Shape each into a loaf.
- Butter two bread loaf pans and place a sandwich bread dough in each.
- Cover with a damp tea towel and allow the dough to rest one last time for 2-4 hours.
- Bake at 375 degrees F for 45 minutes.
Notes
This is a no knead bread dough recipe. The stretch and folds do not need to be done at very specific times, just general times. Same thing with the amount of fermentation time. This can vary according to your taste, your schedule, and the time of year you bake your bread due to the differing temperatures.
If the bread is too dense, try adding a 1/4 cup of water.
Pin it for Later
Comment
Let me know how you liked your homemade sourdough sandwich bread with fresh milled flour!


I’ve been thinking about milling my own flour and you’ve inspired me even more to try it myself! 🙂
I made this and the texture was amazing!! I am curious tho, why isn’t salt included in this recipe? Can I add it without affecting the rise or anything?
Thank you! I am so glad to hear that it worked out well for you! You could definitely add salt to taste. The only reason I don’t add it is because I use salted butter. If you do try this recipe again and use salt, please let me know how it turns out so I can add a note in the post 🙂
I added all the ingredients except 36g of salt, mix and then let it sit for 30 minutes, then added the salt for the best results! Olive oil also works as a good substitute for the butter. I also enjoy using my kitchen aid mixer instead of kneading/ stretching and folding by hand for more consistent results but I’m also lazy and don’t want to wash my hands every half hour to knead the dough!
That’s great! I’m glad that it’s working for you and thanks for the update! I love when I can modify a recipe to fit my specific needs. It’s also funny because my version of lazy is the stretch and folds compared to pulling out my stand mixer haha 🙂
Been having trouble getting my fresh milled sourdough bread to rise properly. So I put your recipe together last night. Baked it first thing this morning and WOW! It rose so beautifully! I’m so impressed and will use only this recipe from now on. And, I’ve already shared it with my sis, she’s been having trouble with her rise as well. So your bread is now being made in Hawaii, Idaho and California!
Thank you and Have a wonderful day!
Wow thank you so much for the encouragement!! I am so happy it’s working so well for you all <3
Thank you for this recipe. I’ve only been doing this just over a month–trying various recipes. This is by far the tastiest with the best texture!. Our house is very warm, so everything is faster. My starter is ready in a couple of hours. So it was ready much earlier, but I finished the overnight ferment in the fridge. Next time I will use less water., since I use some kamut flour.
Wow! This is so great to hear! Thank you! I started having problems this summer with the warmer weather because I didn’t realize how quickly the fermentation would happen! But I can get the whole process done in one day now. I will have to update this post with warmer weather info 😉
I’m so excited to try this out! My only question is in regards to the eggs. My understanding is that it’s best for raw eggs not to sit out, but I know they’re in the dough, so they sit in it through the fermentation process. Could there be any problems with the raw eggs sitting in the dough at room temperature for several hours?
Thank you! Personally, I don’t have a problem with it, but I understand your concerns! I think this is one of those things that’s up to what you’re personally comfortable with. My eggs are from our own chickens and I know they are clean. I have been putting them in my dough for some time without issues so I just keep doing it. If you aren’t comfortable with it, you could try leaving them out. The recipe does not NEED eggs, I just find they help with the texture of the final product. I hope this helps!